Hi, friends!
 Jenny here again…
I tried writing this post over the weekend, but I wasn’t able to finish it. So re-write, here I am! I hope you all had a lovely weekend. I had a blast, this past Saturday was an event that I had been looking forward to for many months. Of course, it went by in almost an instant! Isn’t that how things always go?
But yeah, this past Saturday my wife and I attended the 27th Annual Glaad Media Awards! It was a lot of fun, and there were loads of celebrities there, including Mariah Carey, Robert De Niro, and Laverne Cox. Oh yeah!
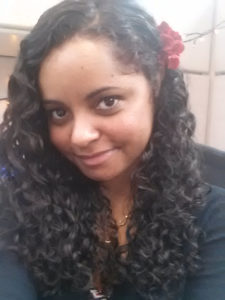
Leading up to the event, I spent the past couple of weeks looking for the perfect dress, the perfect shoes, etc. Last Friday, I even put a little effort into finding a red rose clip for my hair. Weeks ago I knew I wanted one. Unfortunately, I wasn’t able to scour the internet in search of the perfect hair clip and have it arrive in time since I put it off until the very last minute. So I hit the streets. I went to a handful of stores that I was certain would have something I liked but to no avail. The stores had pink, purple and even gold roses but not a red that I liked.
So my new motto now is if there’s something you want, and you can’t find it, make it yourself!
Saturday morning before we left town, that’s what I did. I gathered a few supplies and I made the red rose hair clip that I had in mind!
And the best part is that it was super easy. I’m gonna walk you through my steps so that you can make one too!
Things you’ll need:
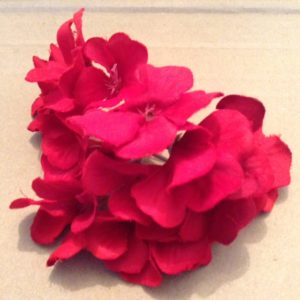
- Silk flowers
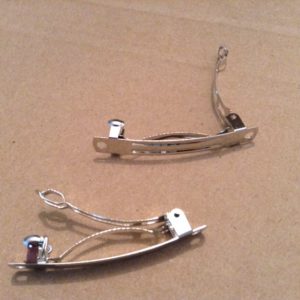
- Hair clips
- Hot glue gun
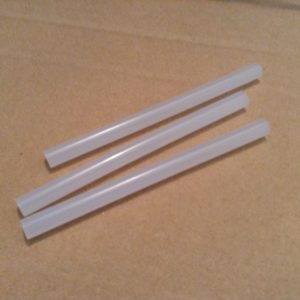
- Hot glue sticks
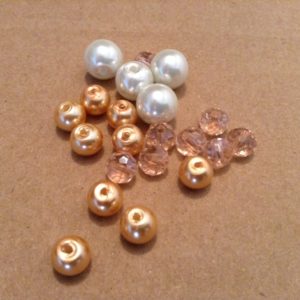
- Beads
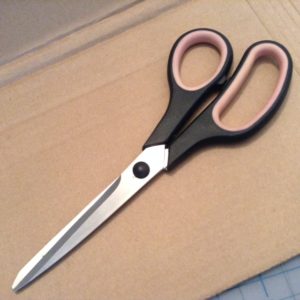
- Scissors
- Cardboard or newspaper

Hey guys and gals, don’t forget to subscribe! Let’s all be good friends!
– Sincerely, Jenny
Set up your workstation. Assemble your supplies. Whenever I do crafty projects that involve hot glue, I like to put cardboard or newspaper onto my workspace just in case the hot glue leaks.
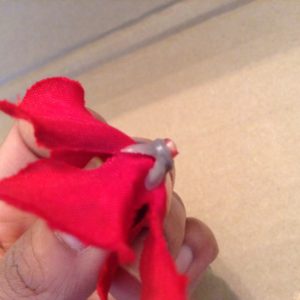
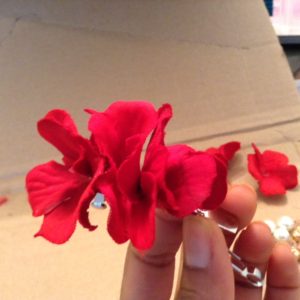
Trim and fluff silk flowers. Make sure they look the way you like and set aside any that don’t meet your standards! Arrange them in groups that will be easy to handle.
Using the hot glue gun, I glued groups of 2 flowers together because that was my preferred grouping. Glue all of your groupings together, making them into fewer sections that need to be applied.
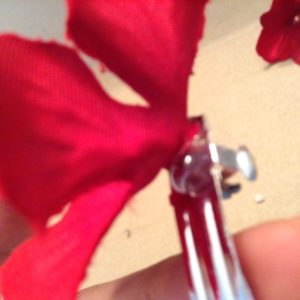
Glue each group of flowers to the hair clip. Do this carefully. Once the glue sets, it’s not terribly hard to remove them but it’s better to get them in the position you want the first time. Use your scissors to trim any parts that stick out too much or that don’t fit.
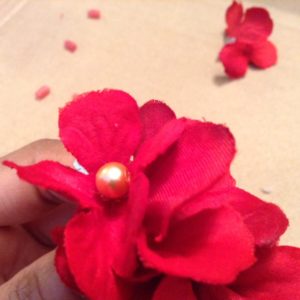
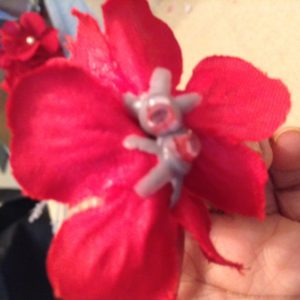
Add beads! I wasn’t sure if I really wanted to add beads to my flower clips but once I held the gold ones up to the flower, I was certain that I did.
Holding the sides with the holes between your fingers, add a dab of hot glue to the bead and carefully place it into the flower. I prefer the holes not to show, so they are on the sides.

 Step 6: Clean up and stray strands of hot glue!
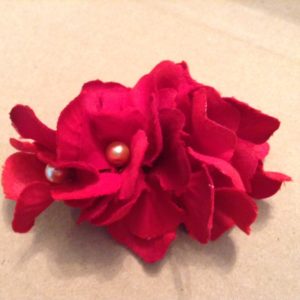
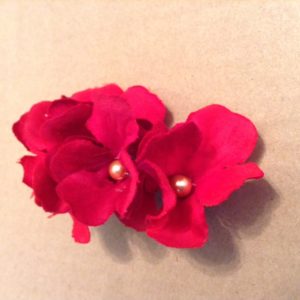
Step 7: Sit back and admire your work! See how easy that was?
I am so late reading your latest post………… I love the clips! They came out super cute! I just wonder how long the glue will hold the flowers because I demand that my things last forever 🙂
Hey Cats! My clips are still holding up and I clipped them in every and wore them to work the entire week after the show! And many times since then, I love them so much. I think it depends on how much glue you use. A generous amount is sure to keep the flowers in place. Good luck with yours!